
Lab note · Nov 3, 2026
How we put a knit texture on a print (with math, not a picture)
Our round character box wears a crocheted texture. It is a formula, not a wrapped picture: no stretching, no seam, and one number changes the stitch.
Every stitch is a few layers of me, stacked just so. The formula tells me where.
- Stitch7 × 5.8 mm, about a pencil eraser
- DepthUp to 1.3 mm, about a dime
- MethodA formula for the height
In short
- To make a print feel knitted, the real surface has to move: color alone does nothing.
- For a round shape, a formula beats a wrapped picture. No stretching, no seam, and one number changes the stitch size.
- Printing sets the rules: bumps big enough for the nozzle, and a flat foot so the print sticks.
The question
We wanted a round character box to look and feel hand-crocheted. There are four common ways to put a texture on a print. Which one, and why?
The options we weighed
A texture in a game or a render usually changes only color and lighting: the shape stays flat. For printing that does nothing. The real surface of the model has to move.
That leaves four ways to do it, compared in the table below.
| Way | How it works | Good at | Why not here |
|---|---|---|---|
| A picture (displacement map (opens in a new tab)) | A grayscale image wrapped on the model: white pushes out | Anything you can photograph: leather, stone, logos | On a round head it stretches, pinches at the top, and leaves a seam |
| Slicer fuzzy skin | The nozzle jiggles randomly on the outer wall | One click, no model change | Only random roughness, never stitches |
| Sculpting by hand | Carved in a sculpting program | The most artistic | Slow, once per model, and fixed at one size |
| Math (what we chose) | A formula gives the height at every point; the surface moves out by that much | Sharp at any size, no seams, one number changes the stitch | Someone has to write the formula |
How the stitch is built
The surface is split into cells 7 mm wide and 5.8 mm tall, about the size of a pencil eraser: one stitch each.
Each stitch is a V: two plump, leaning ovals (the legs), highest in the middle and smoothly down to the edges. At most they stand 1.3 mm proud, about the thickness of a dime.
A small wave runs along each leg: the twist of the yarn you feel with a fingertip.
Every stitch is nudged a tiny random amount in place and size. Without it, the head looked machine-made.
Every row gets a whole number of stitches, so the pattern closes perfectly all the way around.
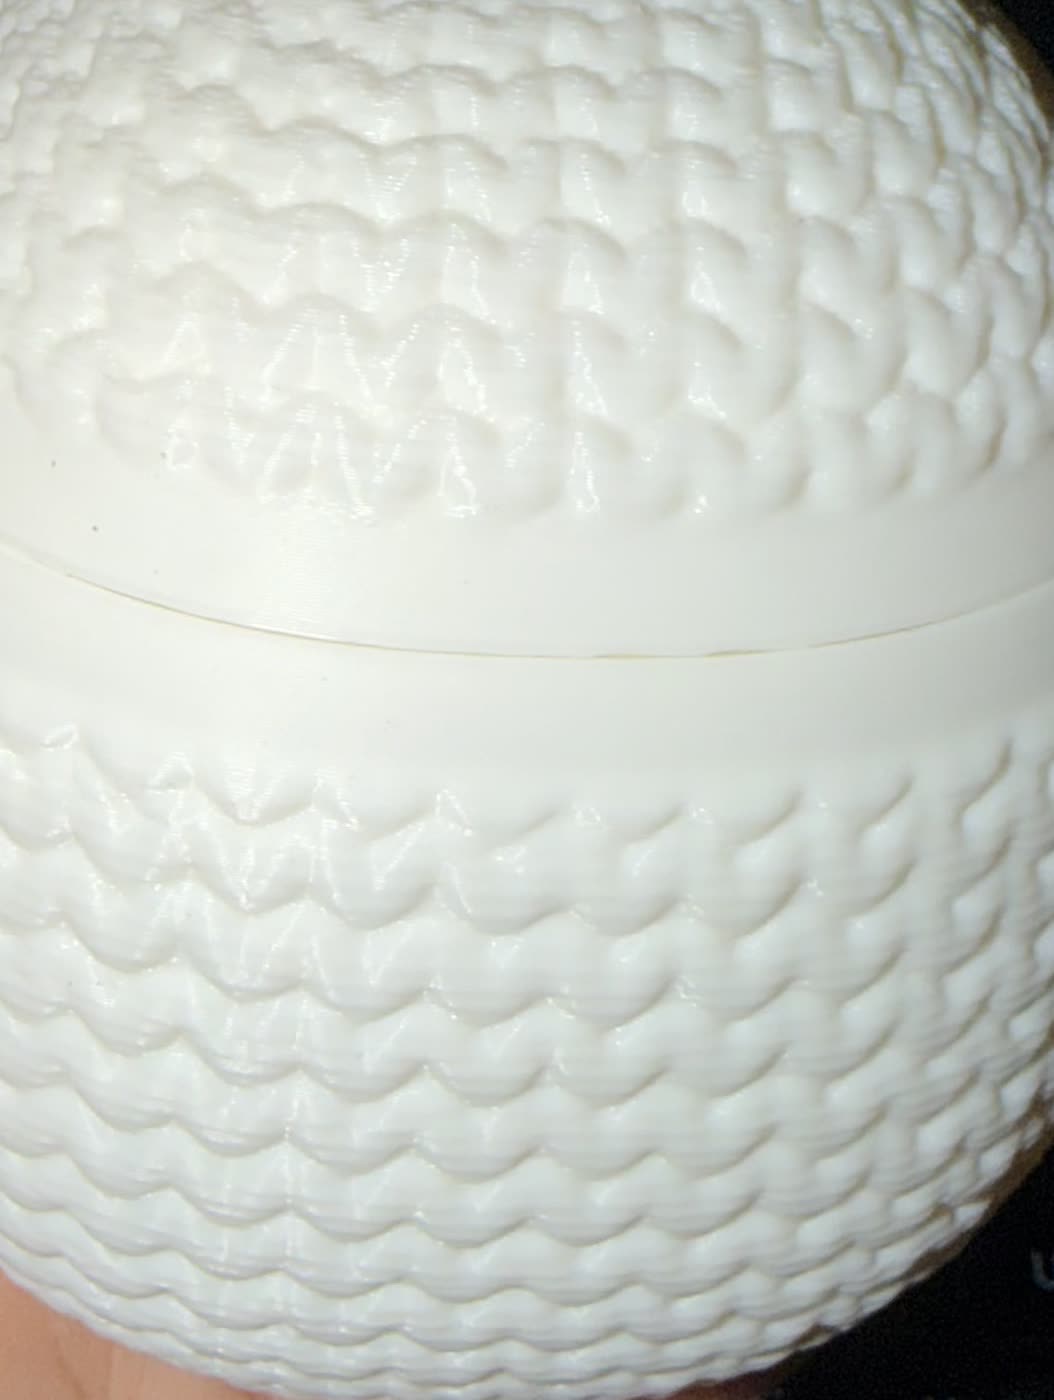
Rules that come from printing, not from looks
The bumps must be big enough for a 0.4 mm nozzle to draw. A stitch is about 17 nozzle widths across, so the nozzle has room to trace every leg.
The texture fades out over the first few millimeters, so the first layers are flat and stick to the plate. It also fades out at the very top, where the rows get too small to hold a stitch.
| Size | Stitch | Depth | Used |
|---|---|---|---|
| Fine | 5.5 × 4.6 mm | 0.9 mm | No |
| Chunky | 7 × 5.8 mm | 1.3 mm (about a dime) | Yes: the box |
See it and try it
This stitch lives in our texture library as Crochet, drawn live from its formula, next to its cousins in the whole library.
The box it was made for, and everything else that box taught us, is in the character box story.
What we do now
- For round or closed shapes, a formula beats a wrapped picture: no stretching, no seam.
- For a one-off look you can photograph, a picture is quicker.
- Keep the bottom flat for plate grip, and size every bump for the nozzle.
- Fit a whole number of stitches around a closed shape, so the rows meet.